The Kenwood TK-x90 series of radios are discontinued land-mobile radios used extensively in public safety (police/fire) in the US and which are currently available used for under $100. The VHF models can be converted to […]
Category: Uncategorized
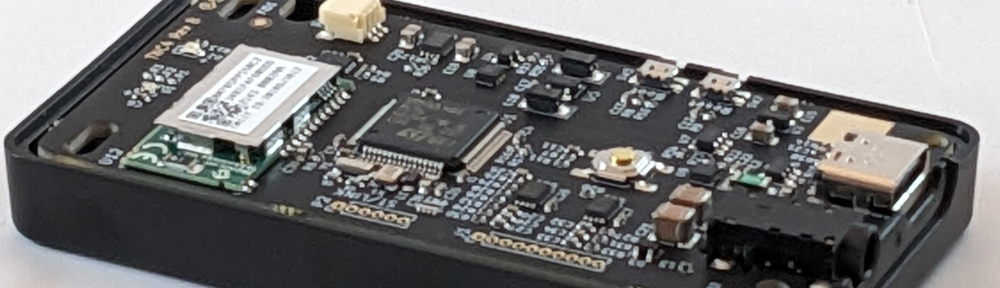
NucleoTNC
The NucleoTNC is a breadboard implementation of our commercial product, the Mobilinkd TNC3, designed to encourage experimentation and learning in amateur radio, electronics, digital signal processing and software engineering. The TNC can be built with […]
KT-8900D Review Follow-up #1
This is a follow up to A Brief Review of the KT-8900D Testing Turn-around Time One of the key metrics when evaluating a radio for packet use is turn-around time. This is the time it […]
Connection Tracking Hack
This page provides instructions on how to modify the Mobilinkd TNC1 to allow it to track the Bluetooth connection state and to configure the TNC to drop packets when Bluetooth is disconnected. This is necessary […]